Some Interesting Repair Projects completed at Tim’s Guitar Workshop
Martin Top Replacement
Fender Strat
Broken Headstock
Classical Headstock
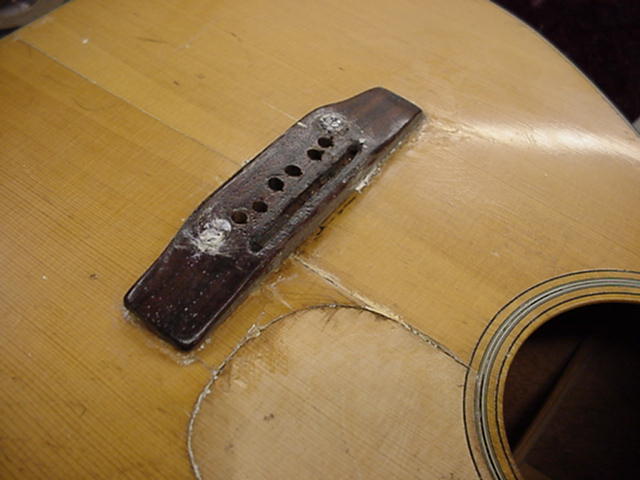
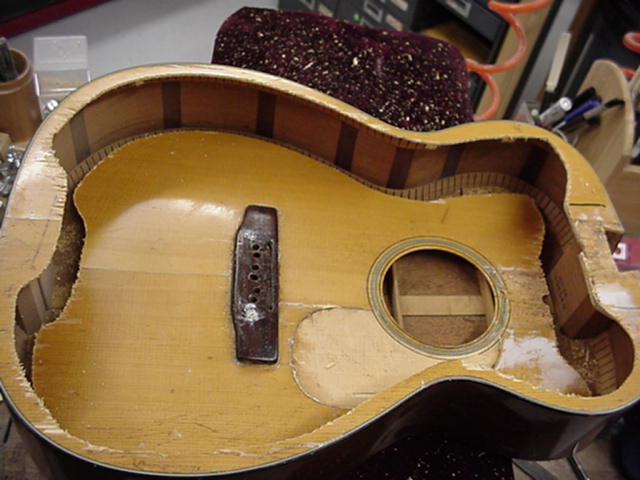
1965 Martin arrives to my shop from Shreveport, LA after very poor attempt to repair.
Guitar needs New Top, New Bridge, and Neck Reset.
Just can’t believe anyone would do this in a retail repair shop!
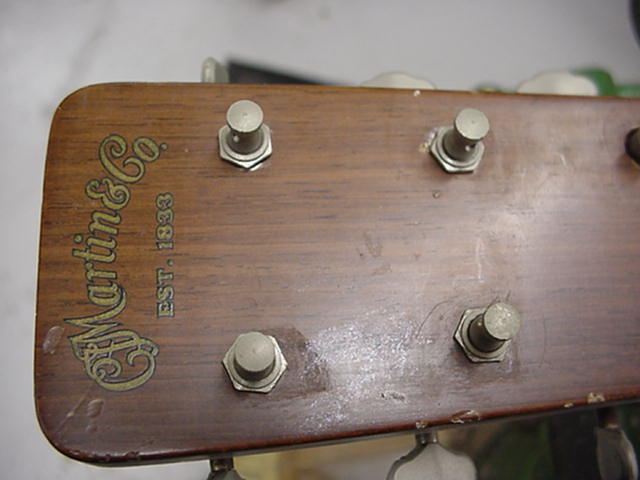
Headstock view of this Martin Acoustic
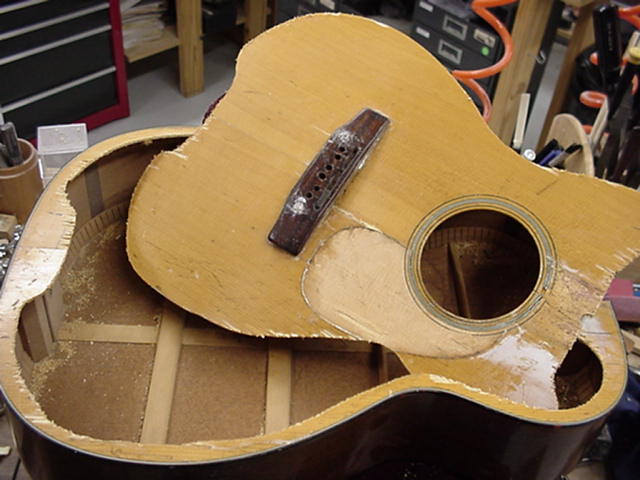
View of neck removed from body to begin top replacement
Notice the Classic French Dovetail neck construction
Now comes the fun part–Cut away the old top to measure bracing for the new top.
We cut around the top with a jig saw being very careful not to damage the heel block, tail block, or lining that secures the top to the rims.
Another view of top being removed
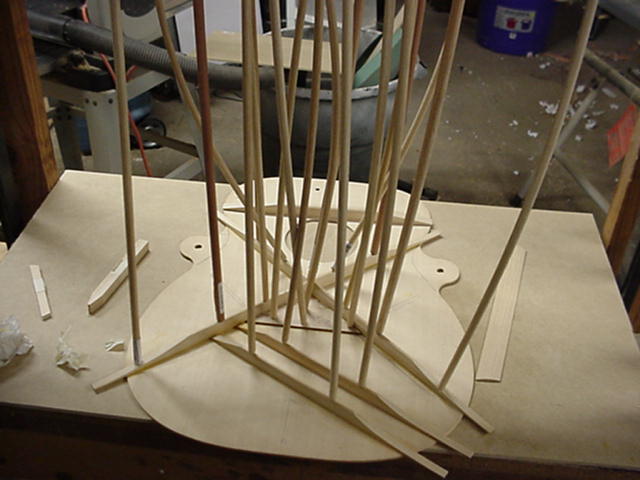
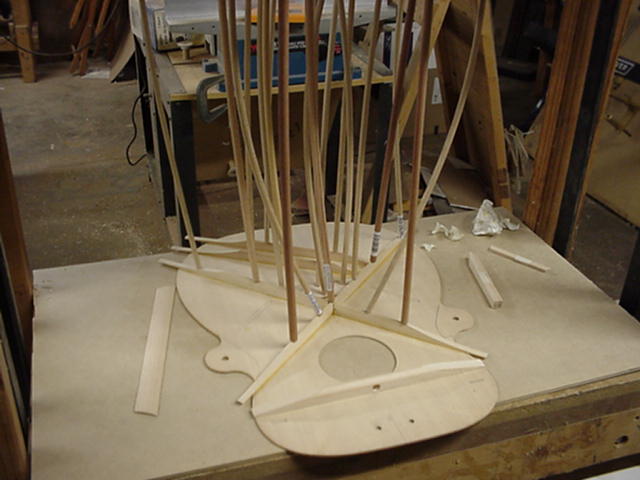
After taking careful measurements of the original top, we use our go bar deck to glue all of the bracing to the top. All braces can be glued at the same time with this type of fixture
Another view of the top bracing.
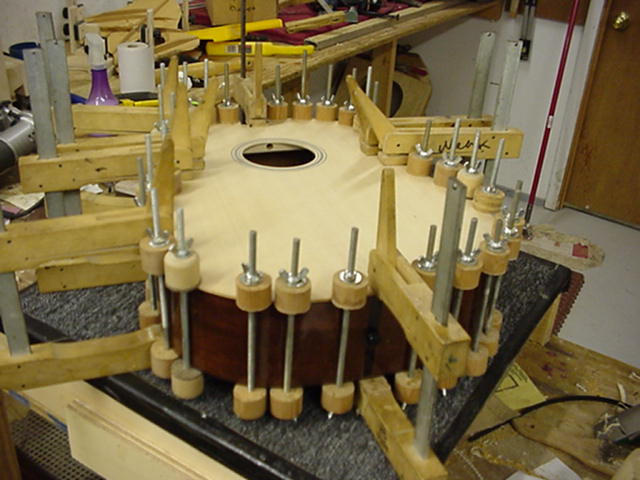
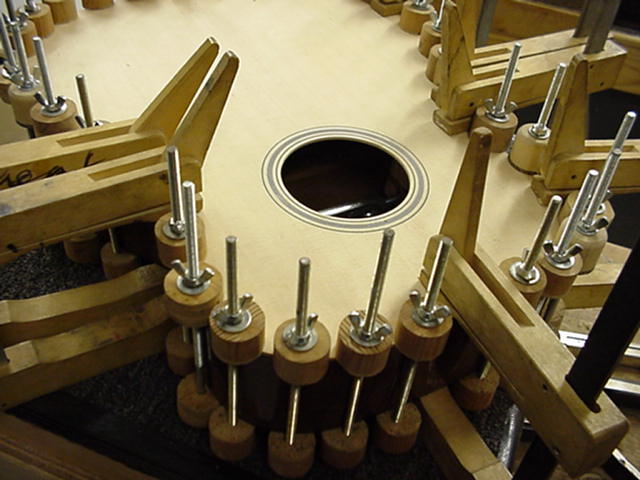
Now the top is being clamped in position after many steps in carving braces and matching the location of X brace and shoulder brace thru the lining . This is very important when viewing the guitar inside. All of the notches on the rim must align with new top.
Another look at top being clamped into position. When we removed the old top I saved the original top binding to reuse on this new top. This extra step really is worth the effort to keep this guitar looking very vintage and original. Many shops will router off the binding and use what ever is currently available. I was lucky this time.
This view shows only a slight lacquer touchup needed on the side when spraying lacquer finish on the new top.
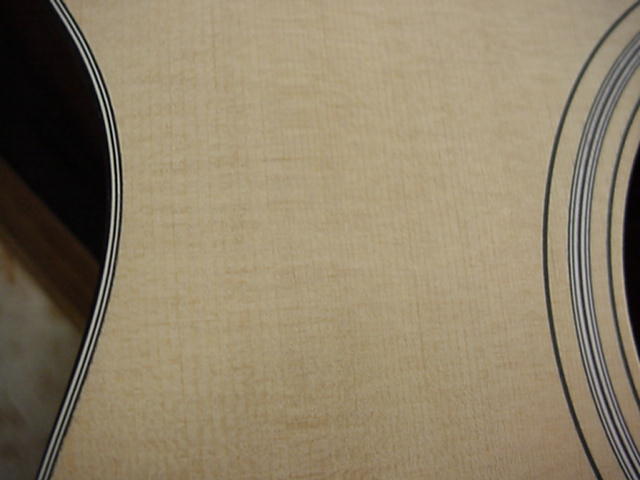
Top view of original outer binding of guitar top with new rosette around the soundhole
We spray nitrocelluose lacquer on the top with aging toner to restore the look of this guitar. The toner is important to make the top look like it is 40 plus years old.
This photo is without a flash in more dim lighting
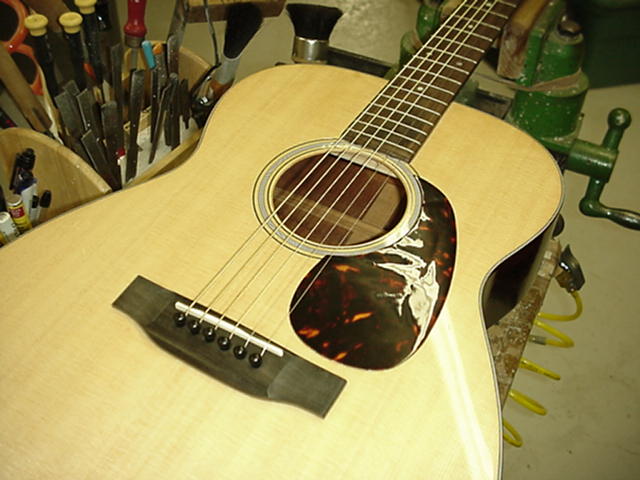
This is a much better pic of the top since my camera used the flash.
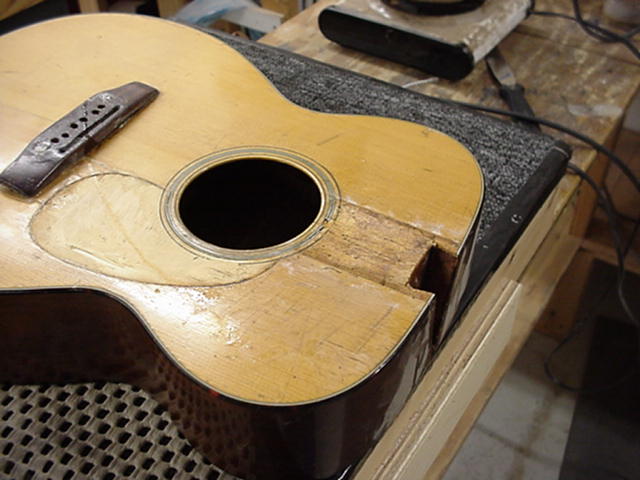
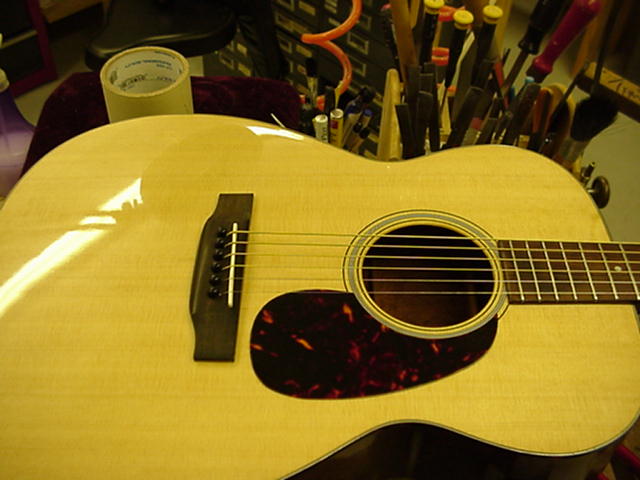
This little guitar now plays great with the new top and neck set.
BEFORE These Carvings are very deep into the soft Alder body. This eliminates the option of spraying original sunburst colors!
AFTER
BEFORE We obviously chose olympic white! One of the many solid color options in the early 60’s.
AFTER
BEFORE After sanding carefully and removing all cross grain scratches, we filled in carvings with epoxy/wood mix to level.
AFTER
BEFORE After a complete sanding and reworking the neck, a fret hone and dress was all that it needed to play —real Niiiiiiiice!
AFTER
AFTER
This was a complicated project that was a pleasure to restore. Many thanks to Mr. Bowman for his endless patience and confidence with my shop. Some more cool things that cant be seen in the photos is the fine “Relic” type aging of the toner with very cool weather “checking/cracking” of the Nitrocellulose lacquer finish coats. With a little time and some real play wear this instrument will age gracefully like a fine bottle of wine!
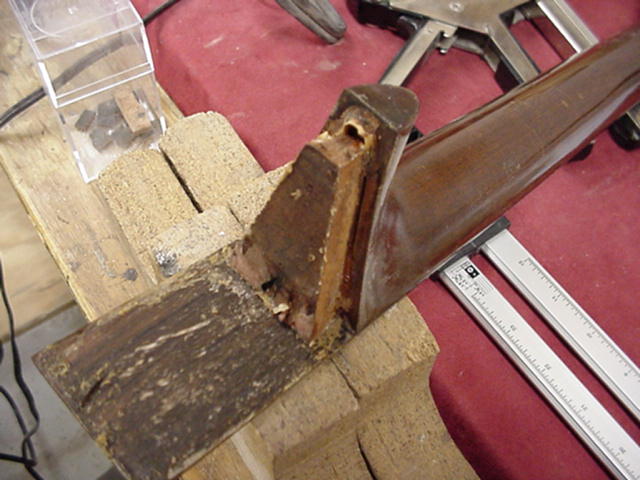
This unfortunate headstock break often happens on angled headstock guitar necks!
First Step
Step Two We clean away about 1 1/2 inches of end of finger board to create a interlocking joint for new headstock splice.
Step Three
Step Four We now create a blank from Honduras Mahogany. Mill for truss rod channel and fit perfectly to original neck.
Final Check
Step Five We now trim excess wood and shape outline of old headstock.
New Headstock
Rear View We now let epoxy cure and get ready for Pearl inlays, Decals, Custom Inlays, etc.
Begin Finish
Wood Filler We Seal the Mahogany, apply wood filler, then apply Nitrocellulose Lacquers and Top coats
Complete Finish
Rear View We buff out, install parts and now the guitar plays exactly like it did originally!
Front View- decals applied.
This repair is strong and exact and will last longer than the wood itself. We especially recommend this repair instead of Neck Replacement whenever possible since only 2 inches of the neck is reshaped! You wont need to learn the feel of a different neck contour.
Final Rear View
Final Front View
FIRST THING IS TO CLEAN PARTS AND DRY FIT!
NEXT STEP IS TO EPOXY AND CLAMP IN CORRECT ALIGNMENT.
THIS MODEL REQUIRED A NEW FACE VENEER OVERLAY THAT THE CUSTOMER HAD PURCHASED. BRAZILIAN ROSEWOOD.
AFTER SHAPING THE NEW VENEER FACE WE INSTALLED A PEARL SNOWFLAKE APPROVED BY THE CUSTOMER. ALL WAS SEALED AND FINISHED IN NITROCELLULOSE LACQUER.
AFTER CLEAR LACQUER WITH MATCHING TINT WAS APPLIED OVER BACK OF THE NECK ALL WAS COMPLETED AND READY FOR MANY MORE YEARS OF FAITHFUL SERVICE!